How to Use a Liquid Highlighter Brush for a Strobe Effect on Your Cheekbones

By MORPHE | Published: 2026-06-24
Category: How-to Guides
Learn how to choose and use a liquid highlighter brush for a strobe effect on your cheekbones. Tips on placement, blending, and tool care for a luminous glow.
Liquid highlighter has taken the beauty world by storm, offering a dewy, lit-from-within glow that powder formulas simply can't replicate. But achieving that iconic strobe effect on your cheekbones isn't just about the product — it's about the tool. The right liquid highlighter brush can make the difference between a subtle sheen and a blinding, reflective finish. In this guide, we'll walk you through everything you need to know: from choosing a strobe brush to mastering placement, blending, and aftercare. Whether you're a beginner or a pro, these highlighting techniques will help you unlock your most radiant complexion.
What Is a Liquid Highlighter Brush (and Why Does It Matter)?
A liquid highlighter brush is specifically designed to pick up creamy, fluid formulas and deposit them evenly onto the skin. Unlike powder brushes with fluffy, loose bristles, a strobe brush for liquid typically features dense, synthetic bristles that don't absorb too much product. This ensures that the highlighter stays on the surface of the brush and transfers directly to your skin, rather than soaking into the bristles. The result? A more intense, concentrated glow with less waste.
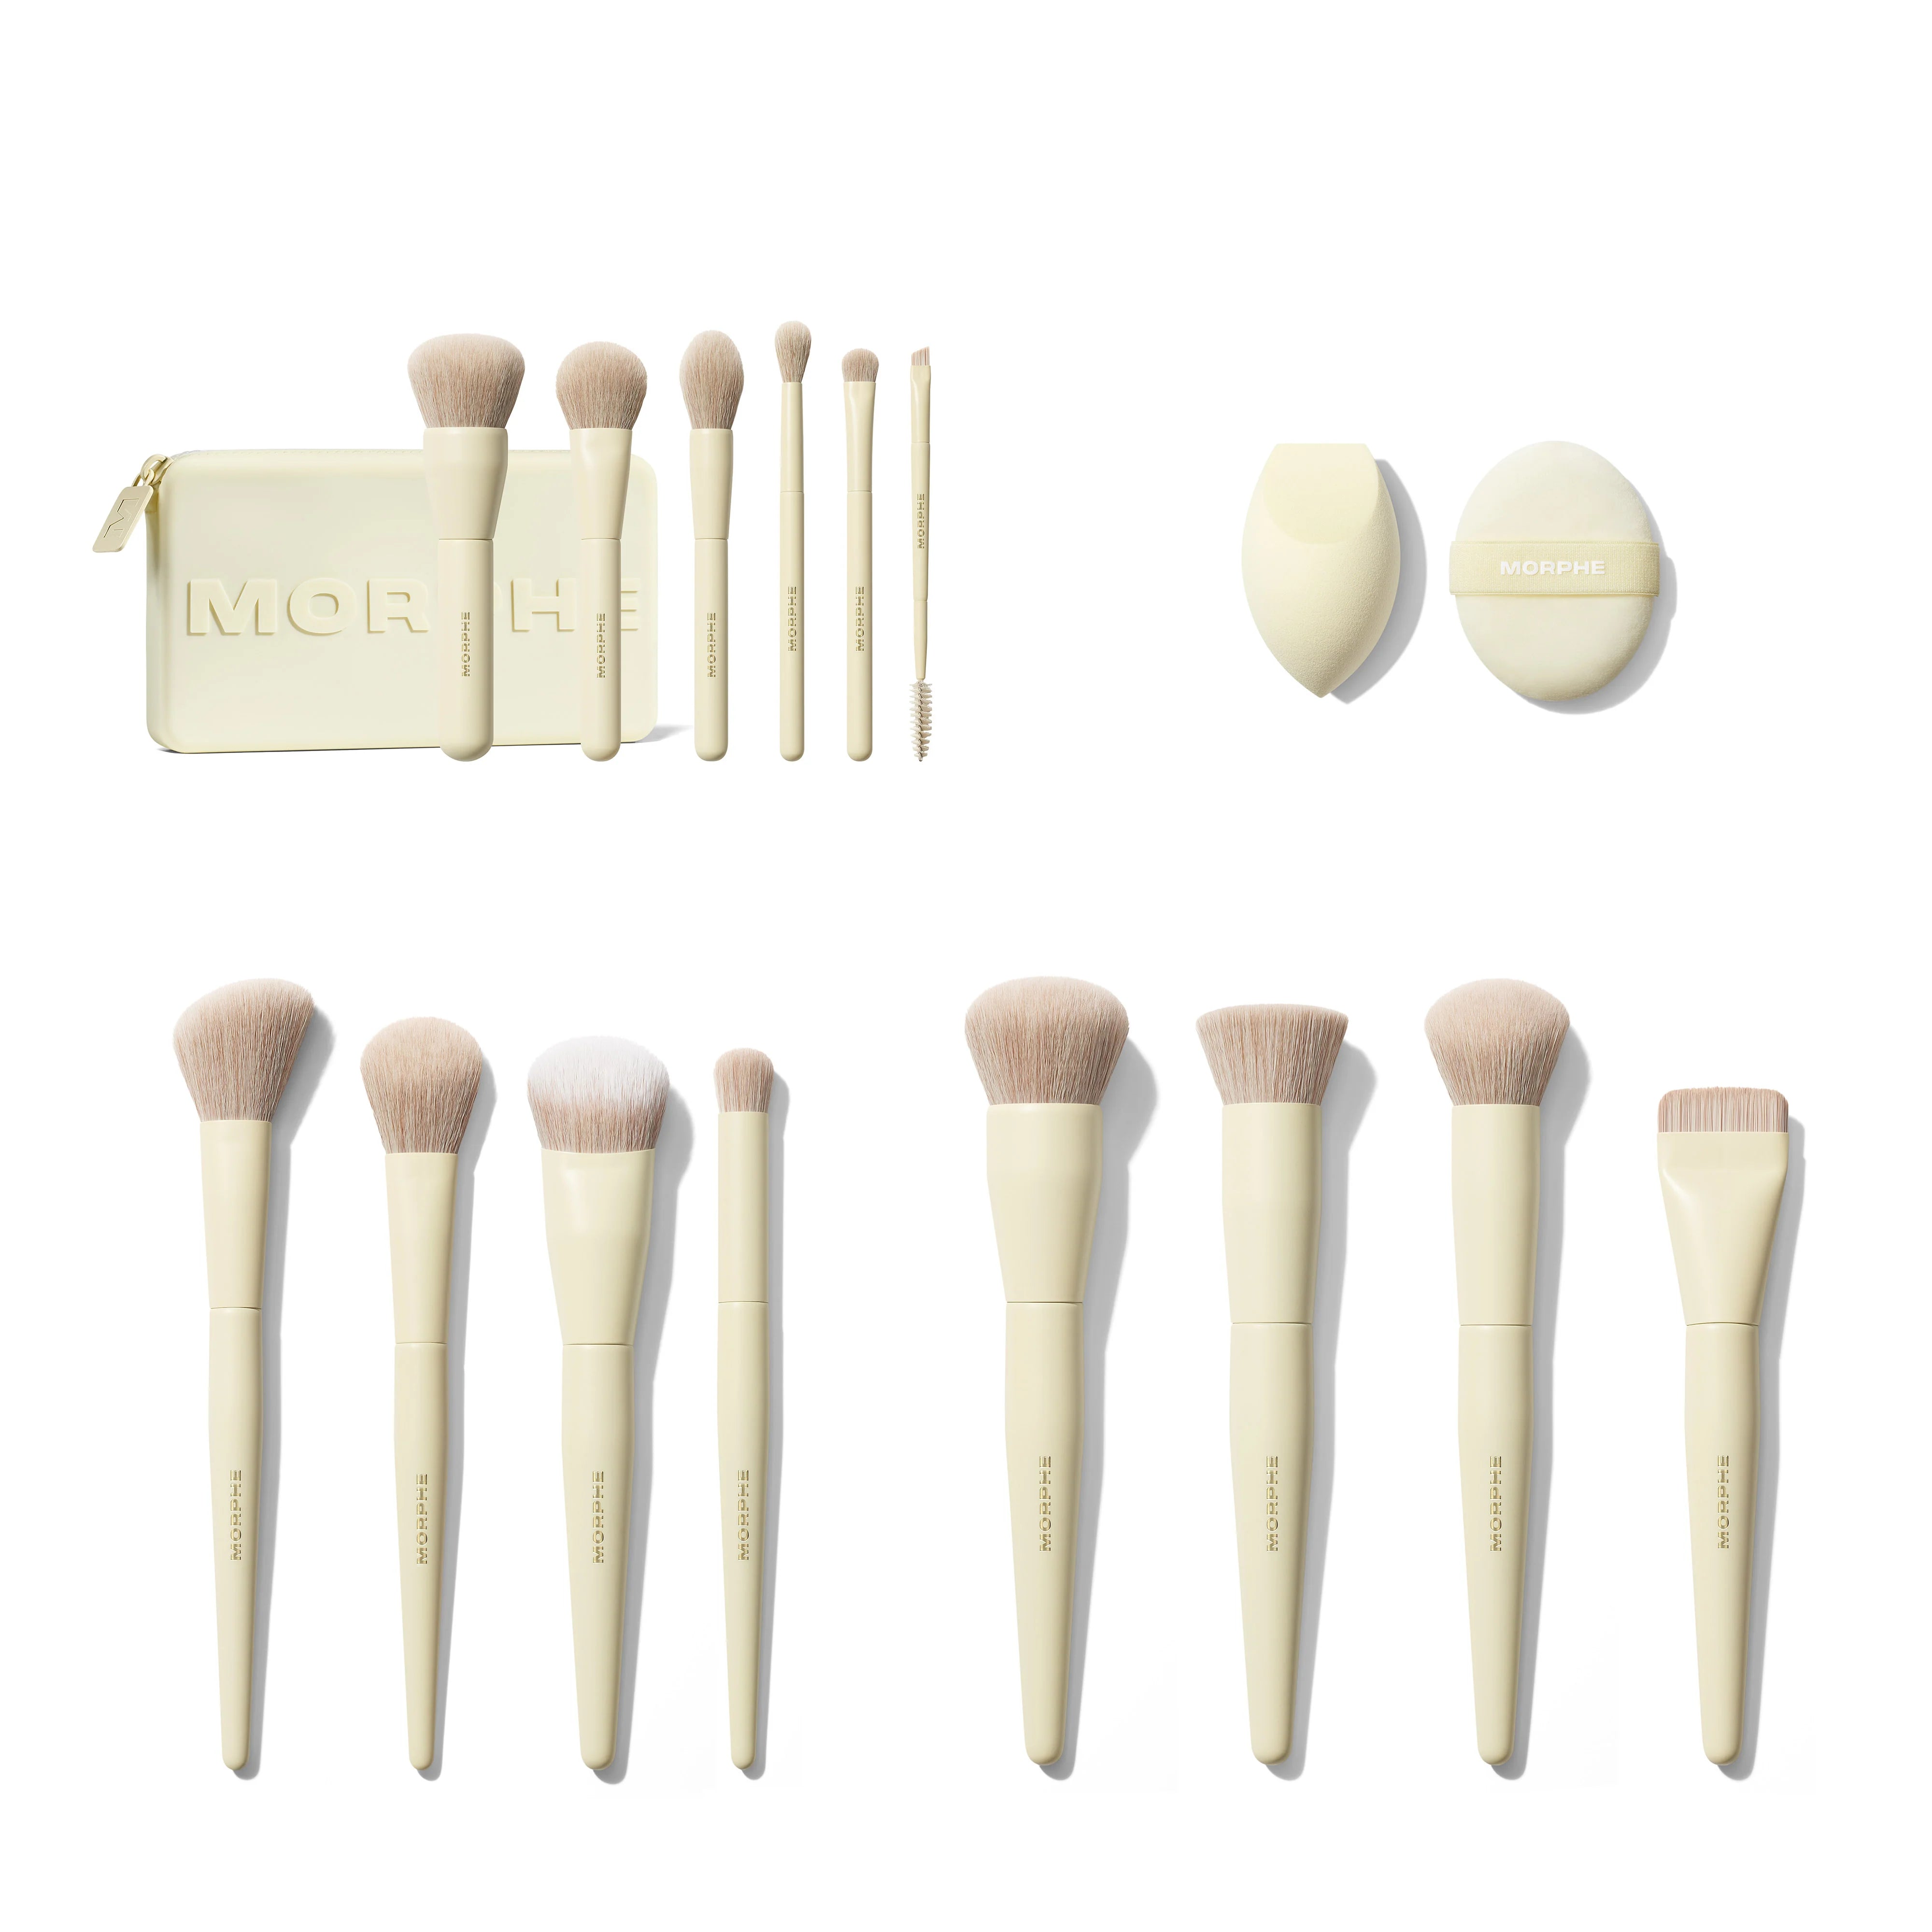
But the brush shape matters just as much as the bristle type. A flat, slightly tapered brush works wonders for precise placement along the cheekbones, while a domed brush can soften the edges for a more diffused effect. If you're looking for a versatile option, consider the Buttery Blends Brushes Full Collection, which includes several shapes ideal for liquid and cream products.
Step-by-Step: How to Use a Liquid Highlighter Brush for a Strobe Effect
Step 1: Prep Your Skin
Before you even touch your liquid glow brush, ensure your skin is well-moisturized and primed. Liquid highlighter adheres best to a slightly tacky base. Apply your foundation, concealer, and setting powder as usual, but leave the high points of your face — cheekbones, brow bone, cupid's bow — free of heavy powder. A dewy setting spray can also help the highlighter meld seamlessly.
Step 2: Load the Brush Correctly
Less is more with liquid highlighter. Dab a small amount of product onto the back of your hand, then gently tap your liquid highlighter brush into the pool. Avoid dragging the brush through the product — a gentle tapping motion prevents overloading. If you find your brush is picking up too much, wipe off the excess on a clean tissue or the back of your hand.
Step 3: Apply Along the Cheekbone
Place the brush at the highest point of your cheekbone, just below the outer corner of your eye. Using a light hand, sweep the brush upward toward your temple in a short, flicking motion. This is where a strobe brush with a slightly angled edge shines — it naturally follows the bone structure. For a more intense effect, you can layer the product by repeating the motion after the first layer dries down (usually within 30 seconds).
Step 4: Blend and Diffuse
After application, use a clean blending brush or a damp sponge to soften any harsh lines. If you want a truly seamless strobe effect, the edges of the highlight should fade into your skin without a visible demarcation. A great tool for this final blending step is the Cloud Cushion Seamless Puff, which can gently press the product into the skin without disturbing the placement.
Best Brush Shapes for Liquid Highlighter
Not all liquid highlighter brushes are created equal. Here’s a quick breakdown of the most common shapes and what they do best:
| Brush Shape | Best For | Example Use |
|---|---|---|
| Flat fan brush | Diffused, sheer glow | Sweeping across cheekbones for a subtle lit effect |
| Tapered pointed brush | Precise, targeted placement | Dotting onto the inner corner of eyes or cupid's bow |
| Domed foundation brush | Full coverage, intense strobe | Buffing into the skin for a wet-look finish |
| Angled contour brush | Defined cheekbone lines | Painting a precise stripe along the bone |
For a dedicated tool that can handle both liquid and powder highlighters, the M104 Domed Foundation Brush is a fantastic choice. Its dense, rounded bristles pick up liquid formulas beautifully and buff them into the skin without streaks.
Common Mistakes to Avoid
- Using too much product: Liquid highlighter is highly pigmented. Start with a tiny amount and build up.
- Applying over heavy powder: The product can skip or patch if applied over a thick layer of powder. Lightly dust powder only where needed.
- Using a dirty brush: Residue from foundation or blush can muddy the highlight color. Clean your liquid highlighter brush after every few uses.
- Ignoring the natural light source: Apply highlight where light naturally hits your face — don't paint a random stripe.
How to Pair Liquid Highlighter with Other Cream Products
Liquid highlighter works beautifully with cream blushes, bronzers, and foundations. However, layering is key. Apply your cream bronzer first, then your blush, and finally your highlighter. This prevents the highlighter from mixing with the other products and turning muddy. Use your liquid glow brush to gently pat, rather than swipe, the highlighter over the blush — this preserves the blush's color while adding dimension.
If you're new to cream products, start with a simple routine: foundation, cream bronzer, and then highlight. The Sudden Heat Creamy Bronzer Stick is an excellent companion to liquid highlighter because it blends effortlessly and creates a warm, sun-kissed base that makes the strobe effect pop.
Cleaning Your Liquid Highlighter Brush
Because liquid highlighter is often oil-based, it can leave residue on your brush bristles that attracts bacteria and compromises application. Clean your brush at least once a week using a gentle silicone brush cleaner or mild soap. Rinse thoroughly until the water runs clear, then reshape the bristles and lay the brush flat to dry. A well-maintained strobe brush will last for years and deliver consistent, streak-free results.
Final Thoughts: Unlock Your Glow
Mastering the strobe effect is all about combining the right product with the right technique and tool. A high-quality liquid highlighter brush is an investment in your makeup collection that pays off every time you want that fresh, dewy, camera-ready glow. Whether you're prepping for a night out or just want a natural radiance boost, the steps above will help you achieve a flawless finish.
Ready to upgrade your highlighting game? Explore the M104 Domed Foundation Brush — it's our top pick for applying liquid highlighters with precision and ease. Pair it with your favorite liquid glow product, and you'll be one step closer to that coveted strobe effect.